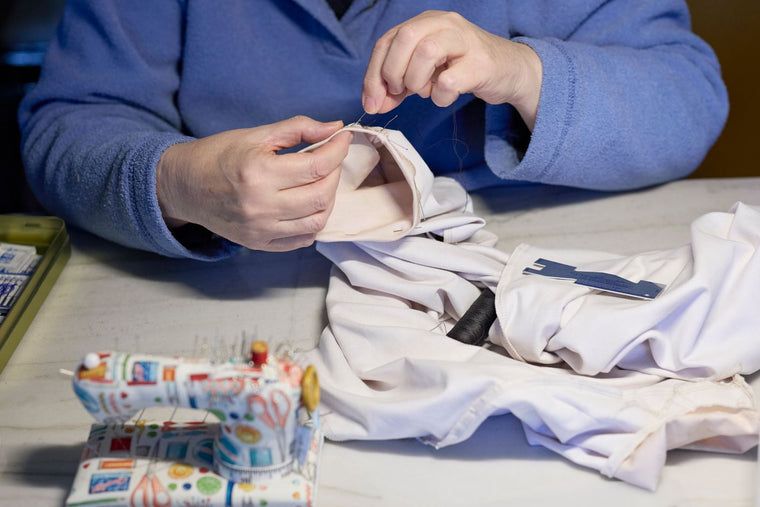
That tiny pop from a seam can sound louder than the sewing machine. To mend a split seam by hand, turn the garment inside out, align the original seam, backstitch across the gap and secure the thread beyond both ends. You need a needle, matching thread, pins and small scissors. No machine required.
Check what has actually split
If the stitches have broken but the fabric is sound, this repair works for many ordinary woven garments. If the fabric has torn or the seam allowance is worn thin, simply pulling the edges together may fail again; reinforce the fabric or seek a more suitable repair. Stretch fabrics also need a stitch that can move with them.
Remove only loose, damaged stitches. Keep the original seam line visible as your guide. The garment has already drawn you a map, which is unusually considerate of it.
Choose thread and prepare the seam
Choose a needle that passes easily through the fabric and a thread suitable for the garment. For many everyday woven repairs, all-purpose polyester thread is useful. Compare a loose strand with the fabric in natural light; if two colours are close, test which disappears best along the seam. Our thread colour matching guide helps with tricky shades.
Cut a manageable length of thread, roughly 45–60 cm, and knot one end. Turn the garment inside out. Bring the two layers together along the old stitch line and pin them without stretching either side. Mind the pins: they are small, shiny optimists with sharp opinions.
Backstitch across the gap
Start about 1 cm before the split, where the old seam is intact. Bring the needle through both layers. Take a small stitch backwards along the seam line, then bring the needle up a little ahead; repeat so each new stitch closes the space left by the last. Aim for small, even stitches and pull the thread snug, not tight.
Continue about 1 cm beyond the split into sound stitching. Make two or three tiny securing stitches in the seam allowance, knot the thread and trim it. Turn the garment right side out and gently check that the seam lies flat. If it puckers, loosen your hand rather than hauling harder. The University of Arkansas Extension repair sheet and SewingPath's mending lesson illustrate this approach.
Frequently asked questions
What if I cannot reach the seam from inside?
For a lined item, a ladder stitch between folded edges can close a small opening. If the area takes strain, check that the repair is strong enough for its use.
Why stitch beyond the gap?
Overlapping the intact seam anchors the repair, so the split is less likely to reopen at its ends.
Can I use any thread colour?
Use a close shade where stitches may show. A fabric photo colour matcher can suggest the closest available STI Ideal shade, then compare it in daylight.
Keep a repair shade ready
If little fixes appear regularly, build a Custom Thread Box with ten 400-yard spools of 40/2 polyester sewing thread. Choose one shade or mix up to five colours for the clothes you actually wear. Future you can spend the tea break drinking tea, not hunting for beige.